
How to Create Professional Tutorial Screenshots: Master Arrows, Magnifiers, and Step Annotations
Why Great Guides Rely on Professional Annotations
In technical writing, SaaS onboarding, or employee workflows, the adage "a picture is worth a thousand words" holds true.
Yet, we often encounter frustrating screenshots: a massive dashboard screenshot pasted into a doc, followed by text saying "Click setup at the top right, go to security, then toggle 2FA." Readers are left squinting at their screen, hunting for a tiny link.
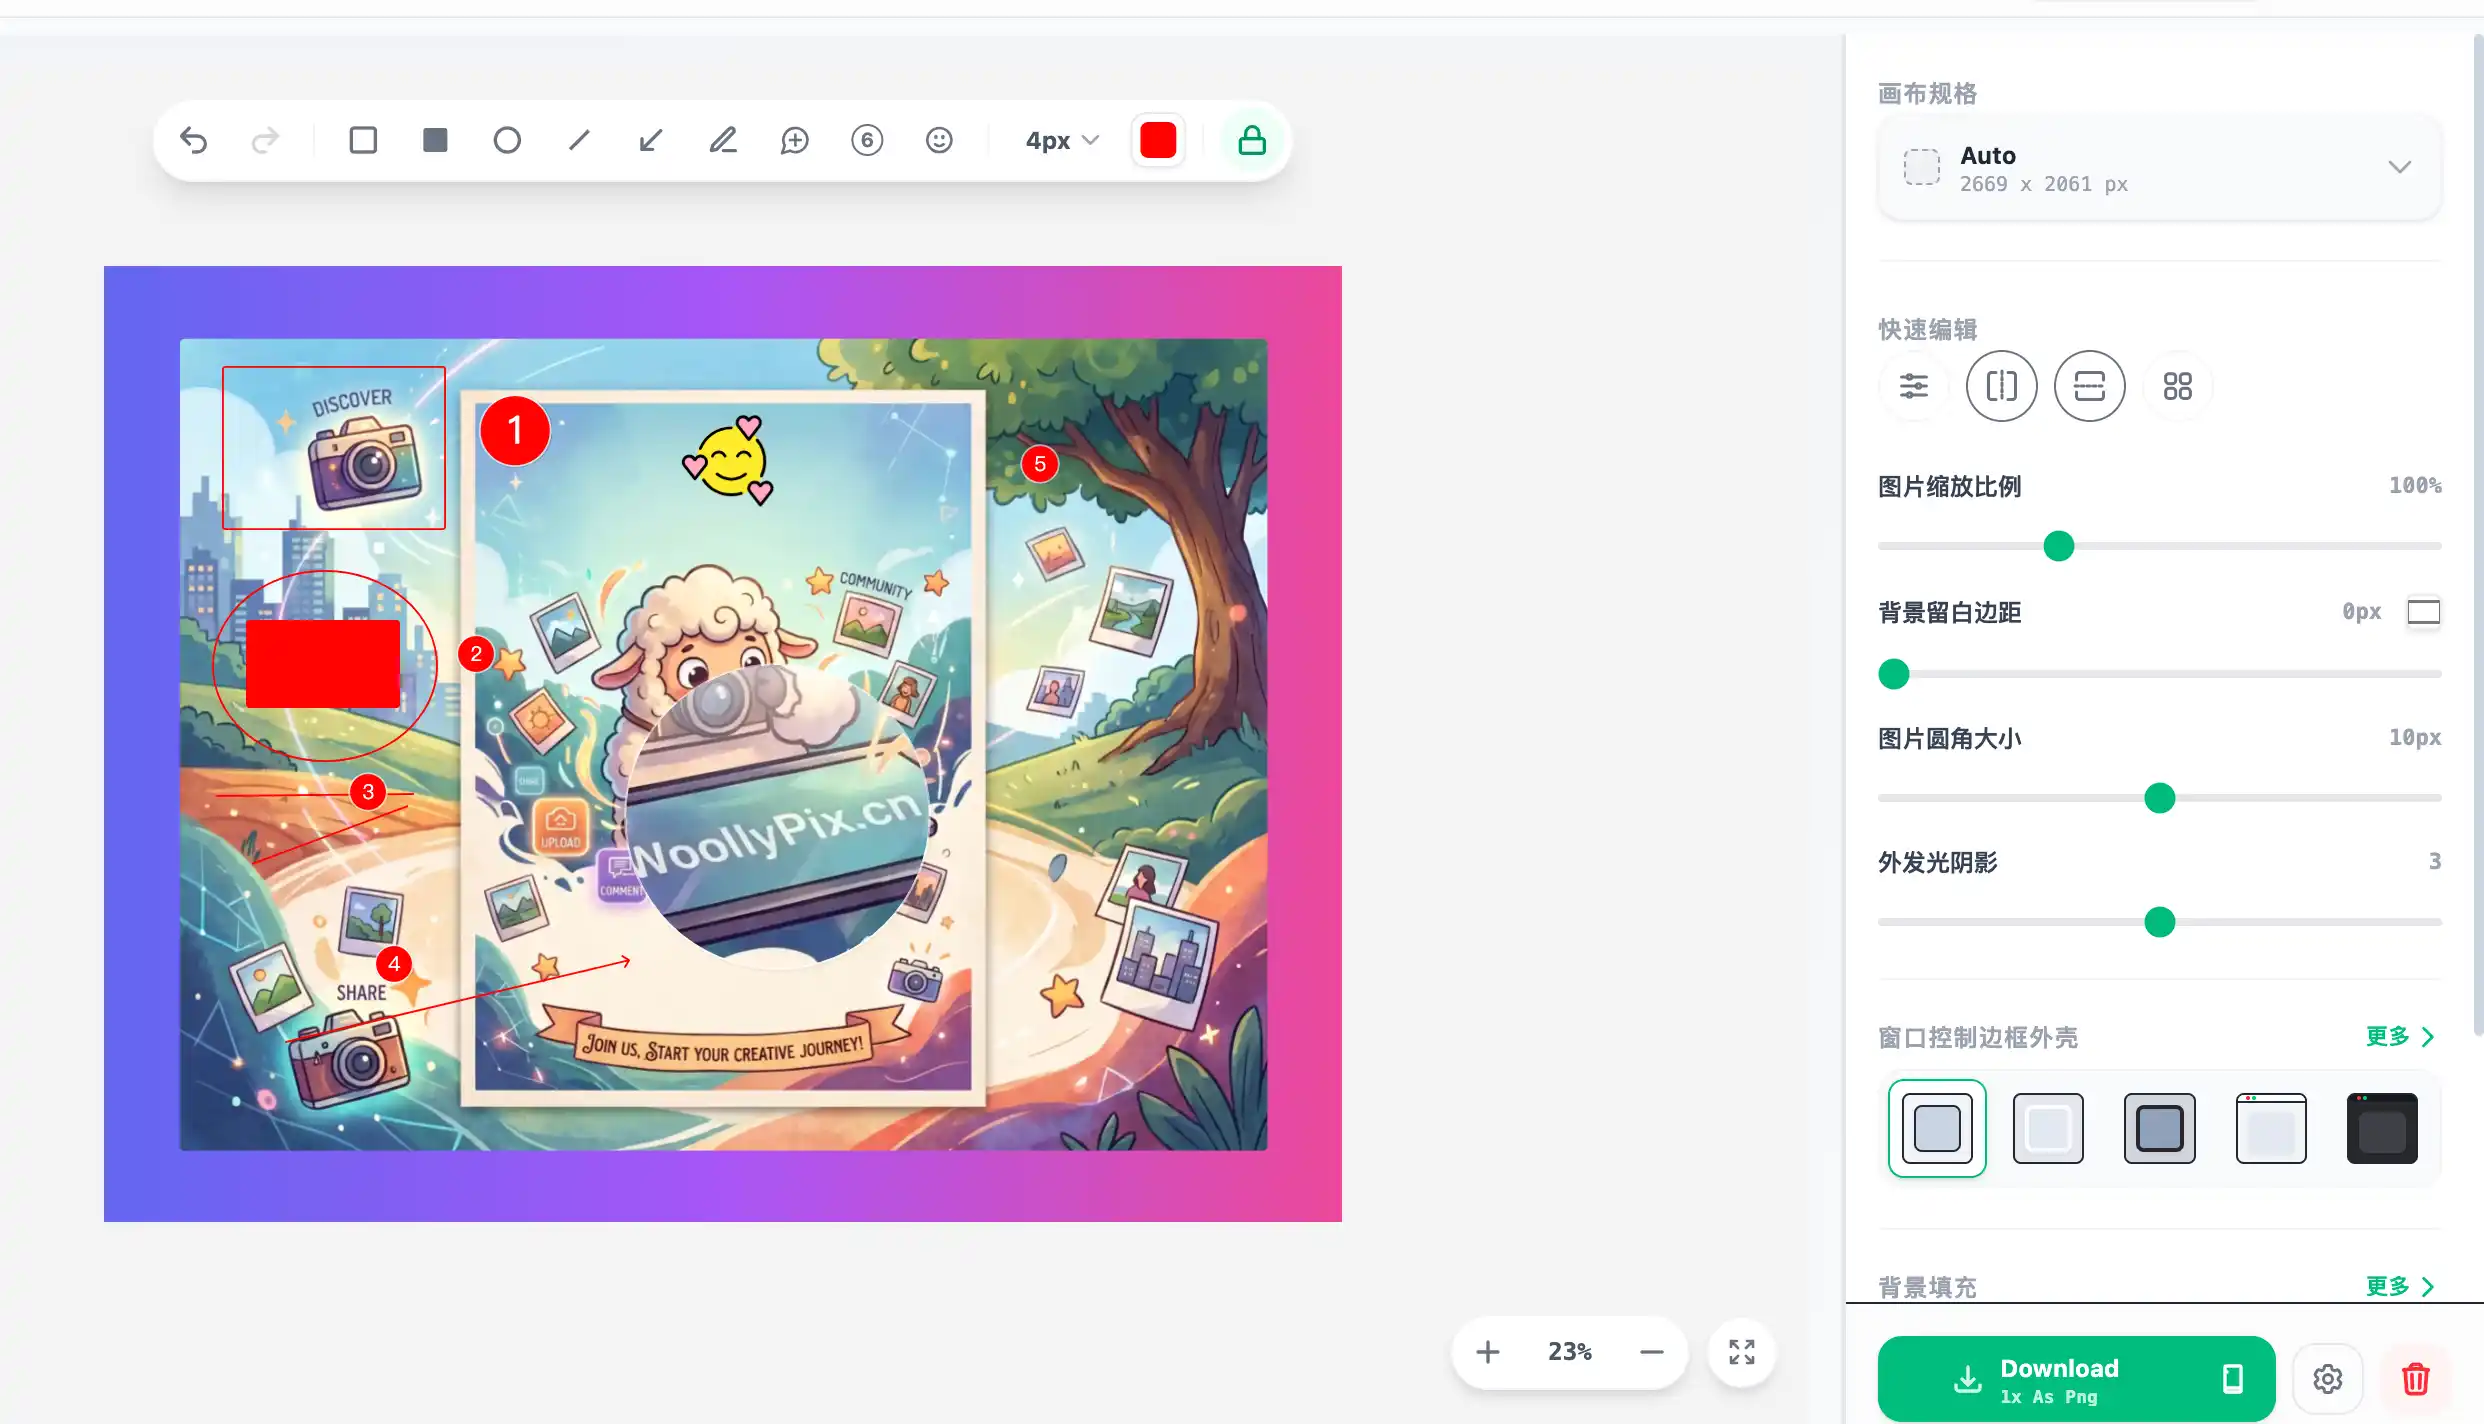
The core purpose of a high-quality tutorial screenshot is to guide focus and minimize cognitive friction. Utilizing visual highlights like arrows, colorful boxes, numbered steps, and magnifiers lets your reader locate targets in milliseconds.
Core Annotation Tools to Boost Your Guides
The WoollyPix Screenshot Beautifier features a built-in vector annotation system. To design top-tier guides, mix and match these tools:
#### 1. Rectangles & Circles (Frames)
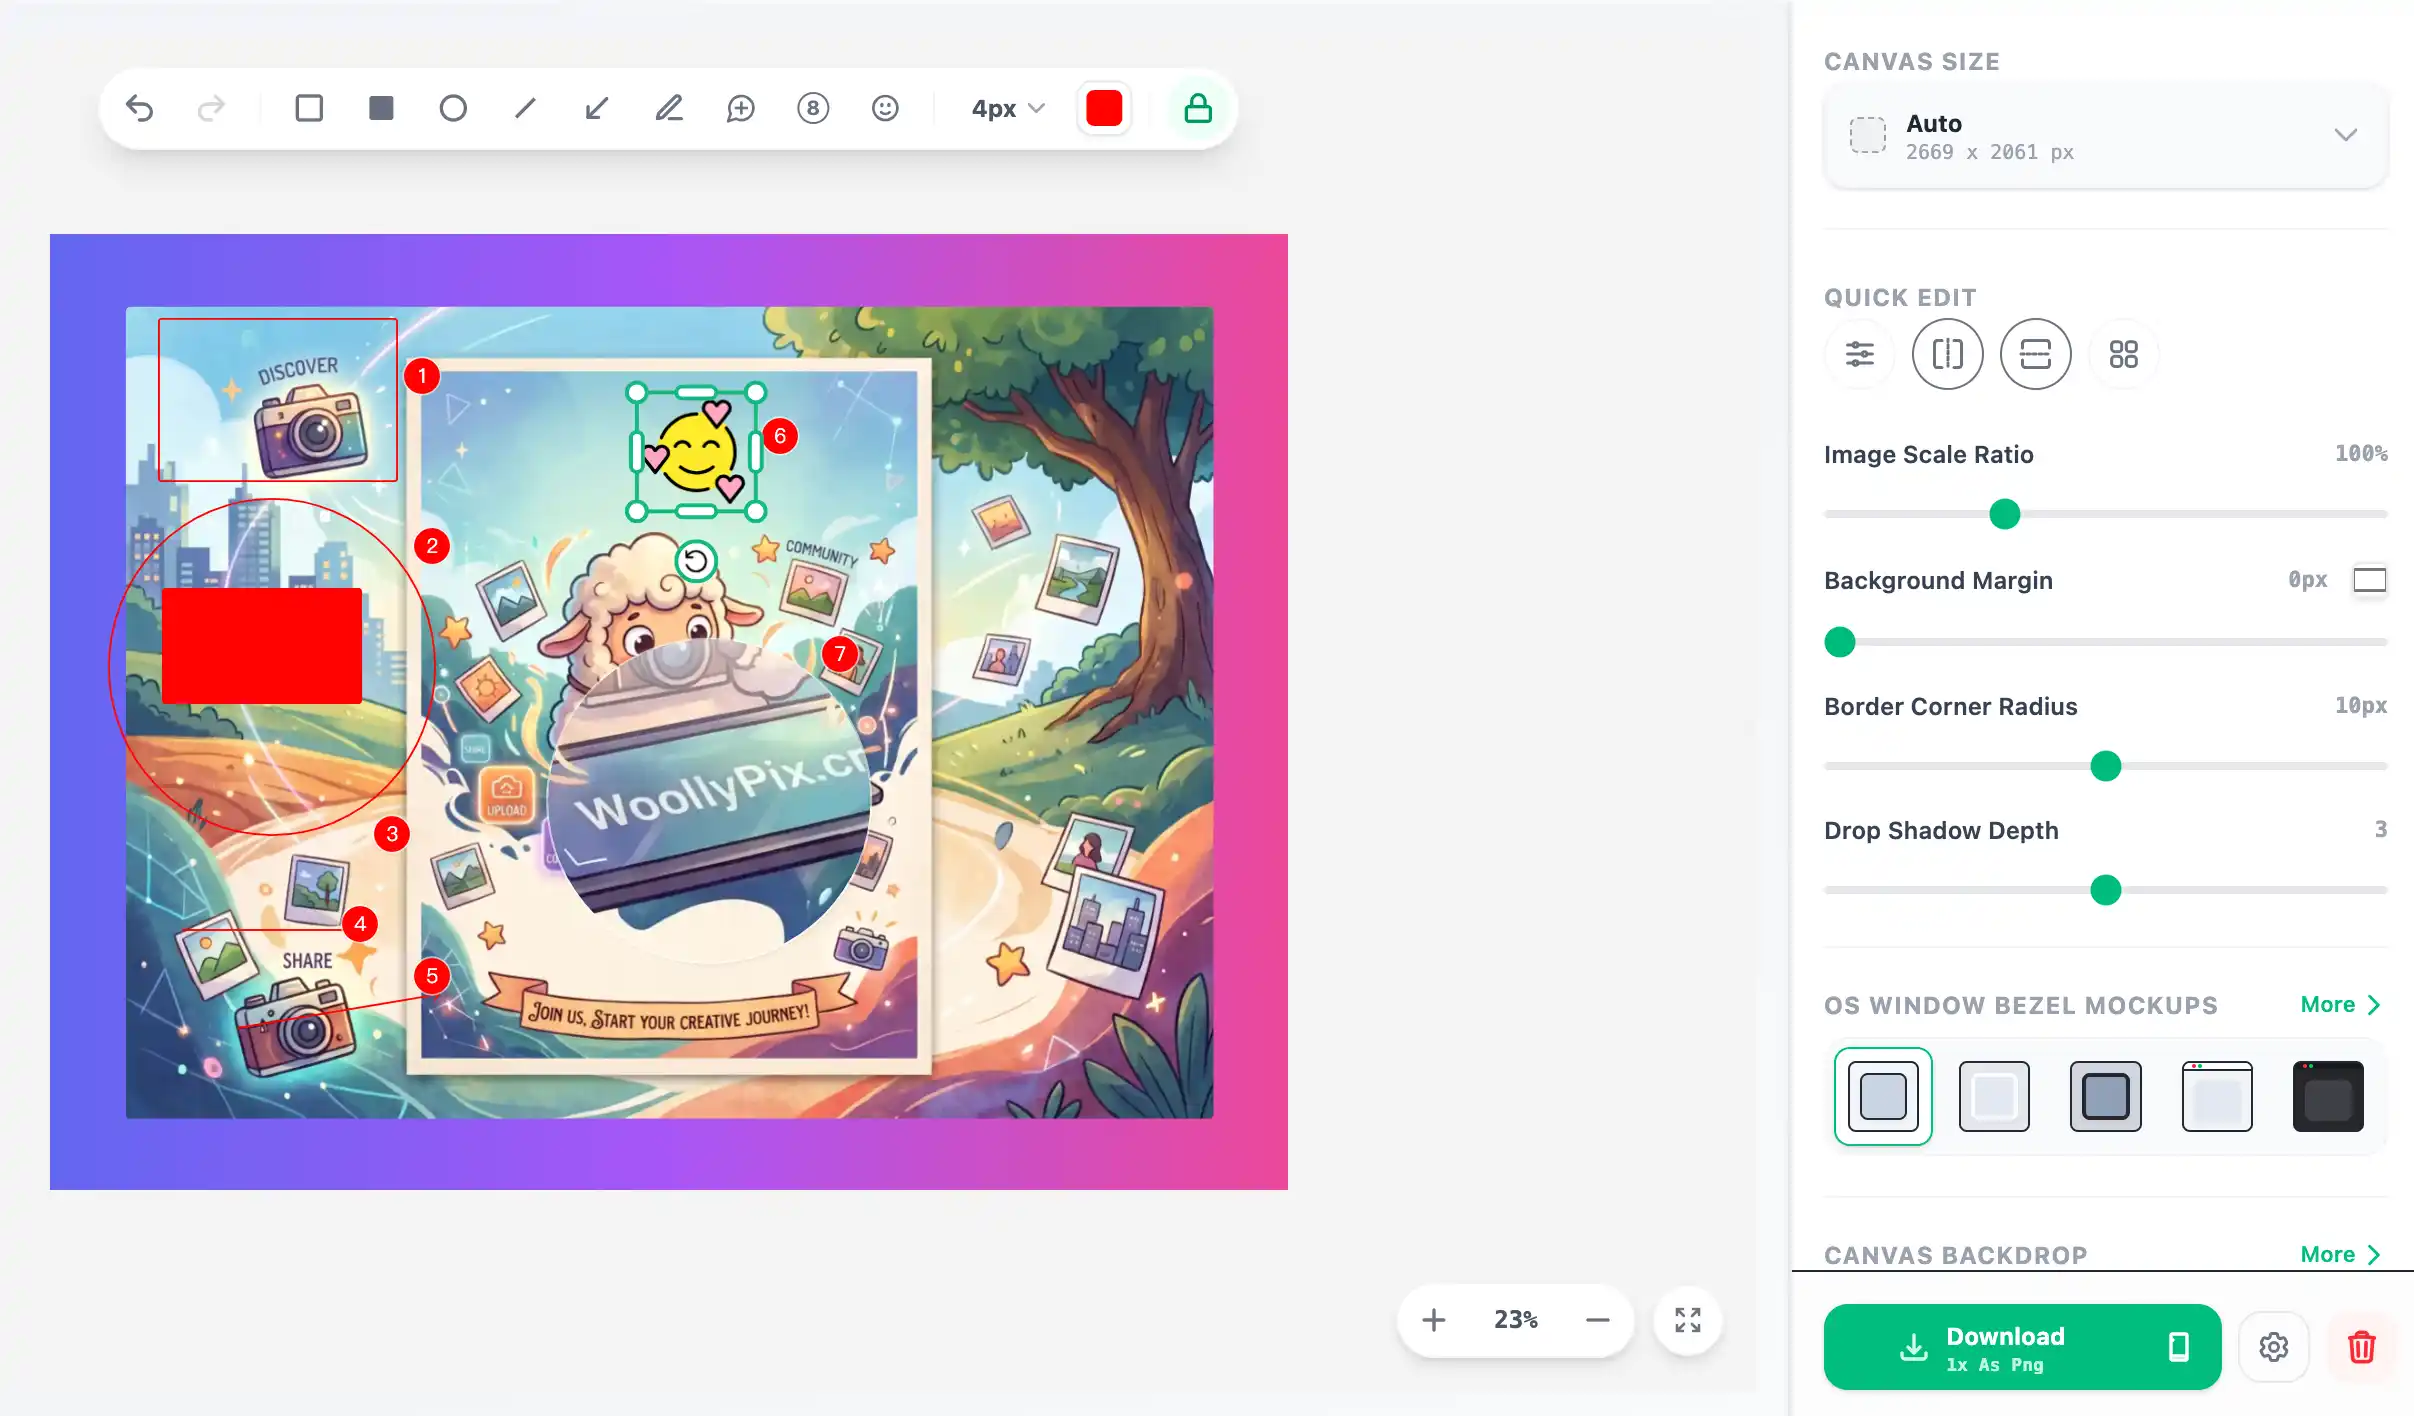
The simplest and most effective way to draw attention. When pointing to a form field, chart, or sidebar button, wrap it in a red or contrasting outline rectangle.
- Pro-Tip: The editor supports hollow-shape clicks (internally configured with
hitFill: 'all'), enabling you to drag and scale outlines easily by grabbing the center rather than pixel-hunting the thin border lines.
#### 2. Indicator Arrows
Arrows not only point to targets but also demonstrate flow and sequence. Keep arrow strokes balanced and use high-contrast colors (red, lime green, bright yellow) so they stand out against any user interface.
#### 3. Step Badges
If a screen shows multiple sequential actions (e.g., Step 1: Input email -> Step 2: Input password -> Step 3: Click login), Step Badges are your best bet. These are circular numbered badges (①, ②, ③...) that you can drop onto targets sequentially to guide users step by step.
#### 4. Detail Magnifiers
The ultimate tool for a polished, professional look. When you need to show a tiny icon or code characters on a wide screen, stretching the whole image ruins your layout.
- The Solution: Use the Magnifier tool. It creates a circular magnified viewport that you can move and adjust (e.g., to 1.5x or 2x zoom) to draw attention to tiny UI elements without losing layout balance.
#### 5. Stickers & Privacy Masks
Sometimes you need icons (like warning signs, checks, or thumbs-up) to highlight tips. Drag these directly from our Stickers manifest. Additionally, if the screenshot exposes emails, phone numbers, or passwords, use our brush or blur masks to cover them.
Step-by-Step Tutorial: Creating a Polished Guide Graphic
Let's walk through how to build a high-quality guide graphic in Screenshot Beautifier:
#### Step 1: Wrap Your Screen
1. Drag and drop your raw software UI screenshot into the workspace.
2. Select a frame style (e.g., MacBook mockup or browser window shell) to give it a clean desktop window wrapper.
3. Apply a matching gradient background to provide layout breathing room.
#### Step 2: Apply Annotations
1. Choose the Square tool and draw an outline around the "Settings" menu item.
2. Choose the Step badge and drop badge 1 on top of the Settings outline.
3. Locate the "Enable Security" toggle, apply the Magnifier tool to zoom into it, and place step badge 2 nearby.
4. Draw an Arrow pointing from Step 1 to Step 2 to illustrate the flow.
#### Step 3: High-Res Local Export
Adjust colors, shadows, and fonts to match your documentation style. Click "Export" and save as a "2x PNG" file. Your professional illustration is ready.
Conclusion
Creating professional guide graphics does not require expensive tools or complex design software. WoollyPix Screenshot Beautifier combines secure local rendering with intuitive arrows, step badges, and magnifier tools right in your browser. Give it a try and make your next tutorial clear, polished, and incredibly easy to follow!
This article was authored and verified by the WoollyPix Graphics & Frontend Engineering Team based on modern Web APIs and industry standards. All WoollyPix tools run 100% client-side with zero server storage.