From Mockups to Annotations: Detailed Guide to WoollyPix Screenshot Beautifier Features
Screenshot Beautification: Bridging Raw Info & Beautiful Presentation
In graphic communication, product onboarding, and team syncs, screenshots are our primary medium. However, raw screenshots are often cluttered, exposing personal credentials or showing harsh edges that fail to catch attention.
To address this, WoollyPix offers the Screenshot Beautifier. It does not just wrap screenshots in mockups—it equips you with customizable backgrounds, canvas proportions, border/shadow controls, logo watermarks, vectors, detail zooms, and multi-format exports.
Let's dive into the core features to help you create stunning graphical illustrations easily.
1. Smart Device Mockups: Real-World Presentation
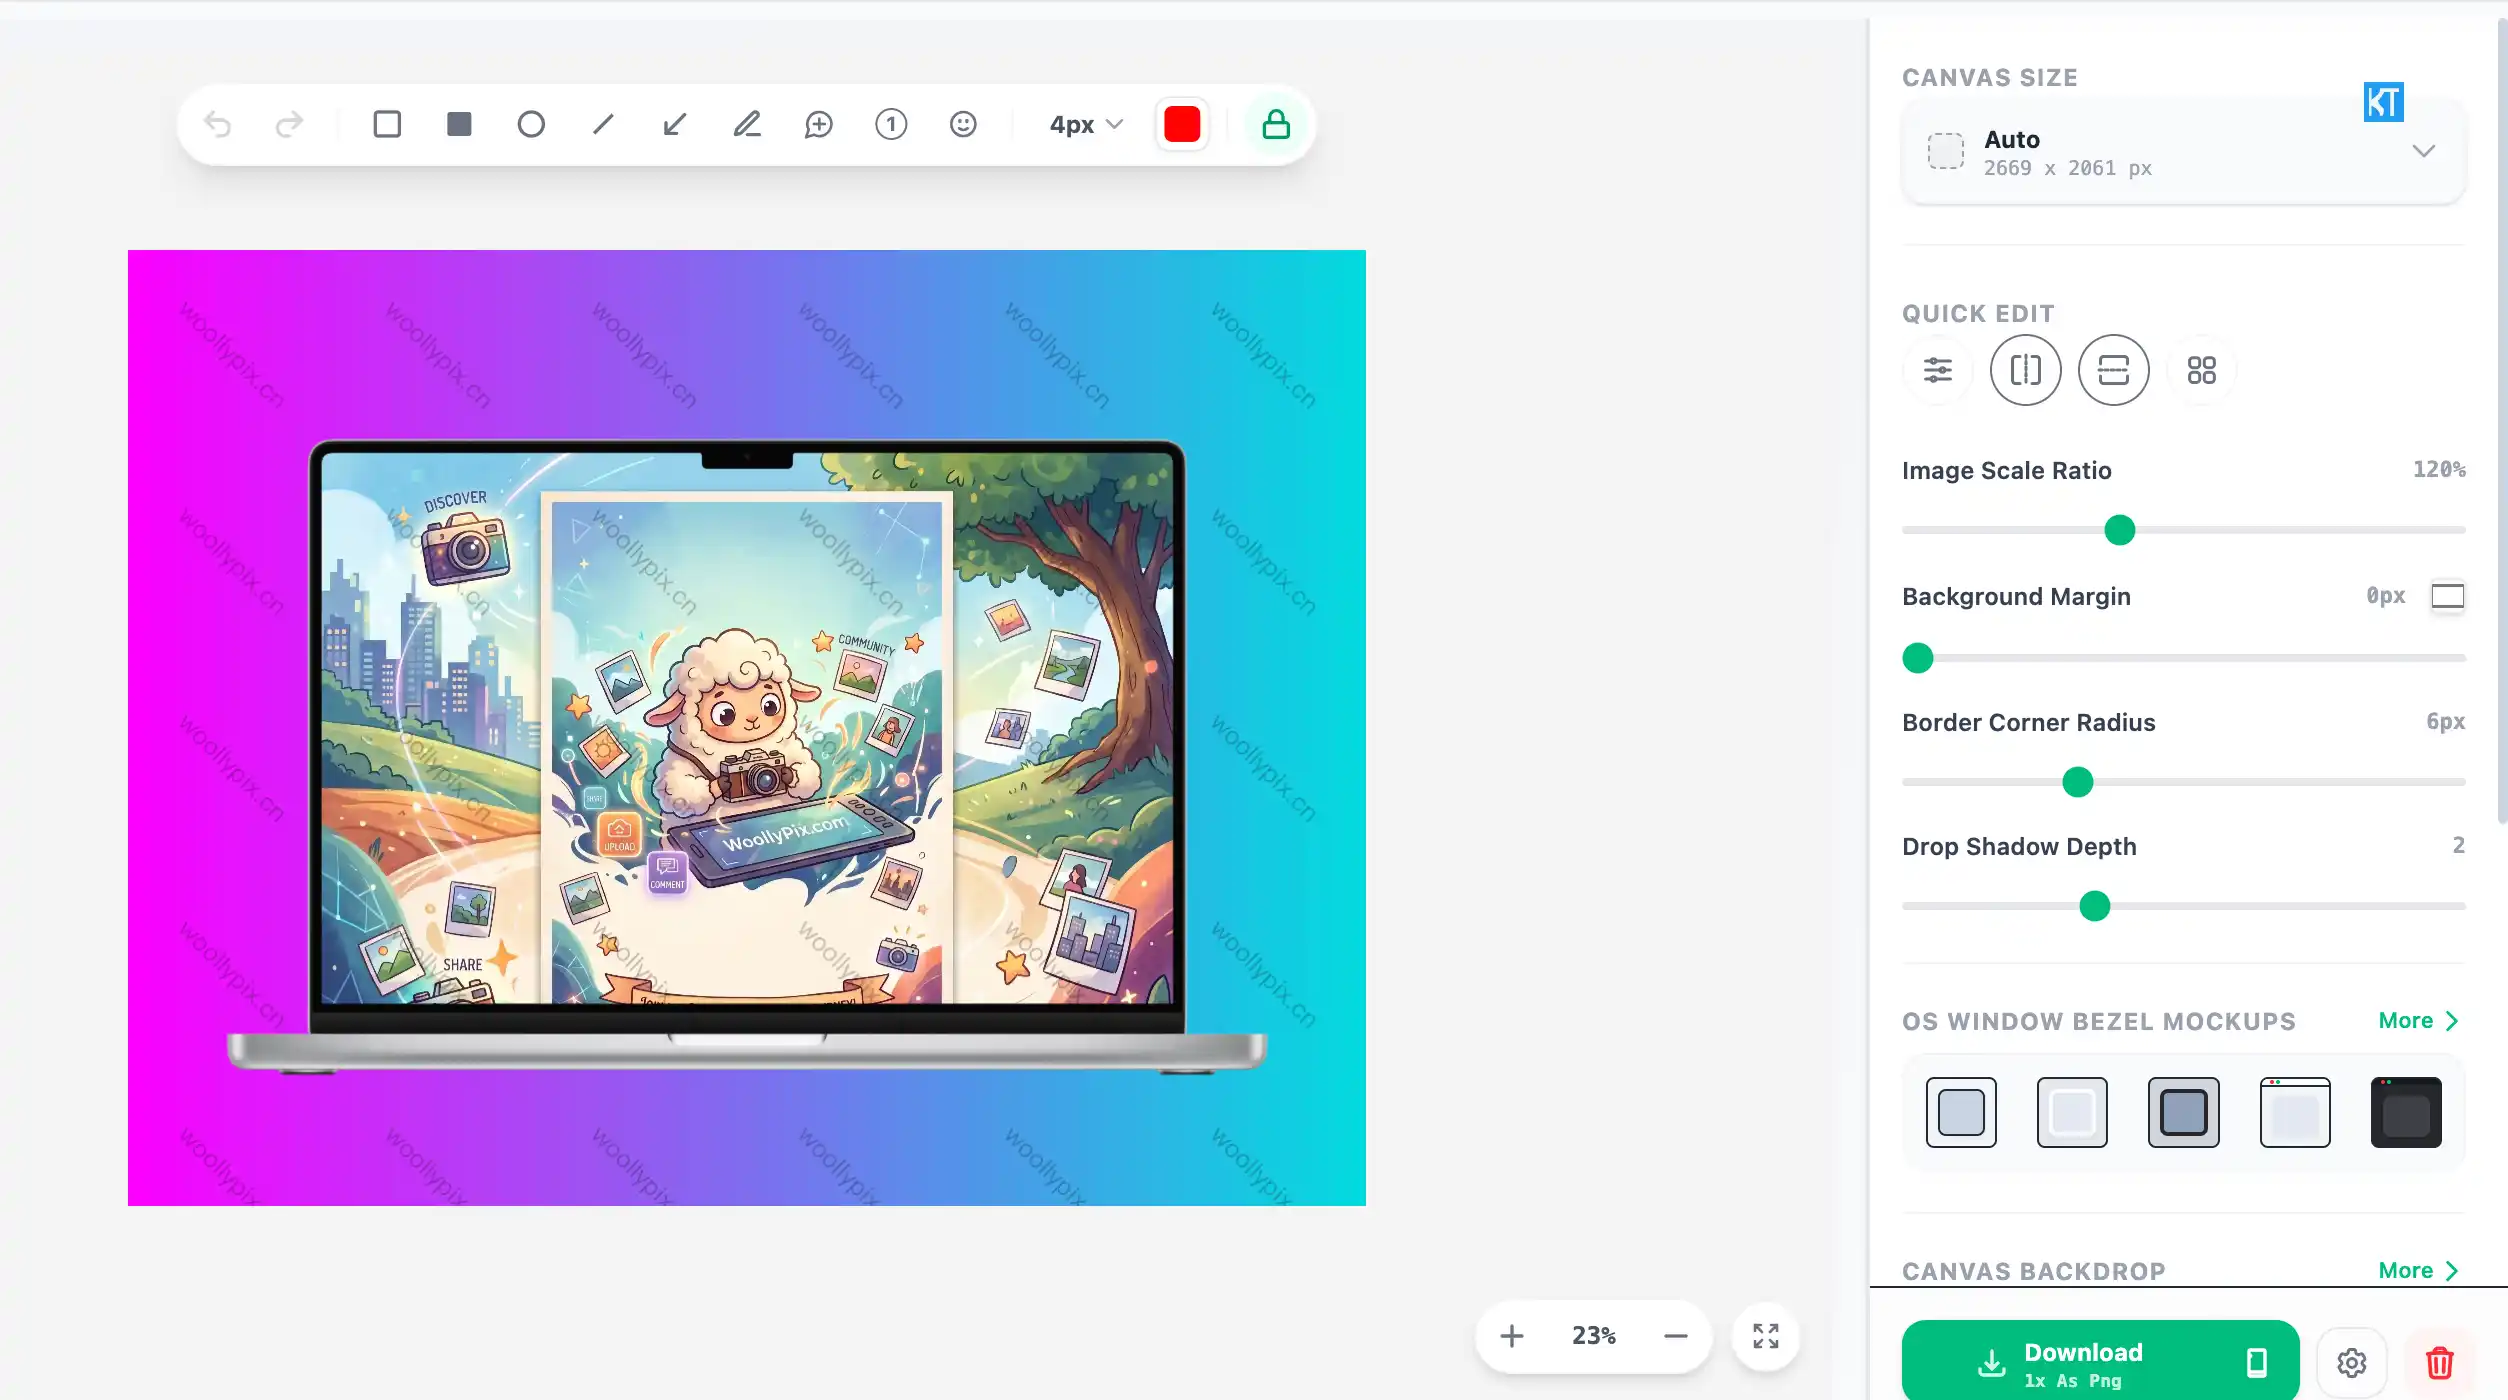
Our templates support high-fidelity hardware wrappers and system title bars, cropping screenshots dynamically:
- Desktop Mockups: Includes MacBook Pro 16, MacBook Air, and iMac Pro frames to establish a professional hardware presence.
- Mobile Mockups: Features iPhone Pro and iPad Pro skins to display responsive layouts realistically.
- Window Frames: Provides clean macOS (Light/Dark) and Windows (Light/Dark) browser header wrappers, perfect when you need generic window containers.
2. Canvas Dimensions: Social Presets and Custom Sizing
Sharing beautiful screenshots requires different aspect ratios depending on the platform (e.g., YouTube, Twitter/X, Dribbble, or mobile feeds). The editor includes an advanced canvas sizer:
- Standard Aspect Presets: Apply 1:1 (Square, great for social posts), 16:9 (Widescreen, perfect for video headers or slides), 9:16 (Vertical, ideal for phone screens), and 4:3 (Classic ratio) formats in a single click.
- Fully Custom Aspect & Pixels: Manually input precise pixel widths/heights or select customized proportions to make your screenshot fit perfectly into your target template.
3. Rich Backdrops: Gradients, Solids, and Custom Uploads
The backdrop options are extremely versatile, so you're no longer limited to flat white or dark backgrounds:
- Preset Gradients: Dozens of radial and linear gradients are available to put a subtle glow and depth behind your mockups.
- Custom Solids: Input custom RGB/HEX codes via the color picker to match your company branding or documentation layout rules.
- Backdrop Uploads: Upload local wallpapers or texture files to build a unique presentation template.
4. Precise Layout Control: Frame Positioning, Borders, Rounded Corners, and Soft Shadows
To achieve design-agency visual quality, you have access to pixel-perfect controls that adjust the screenshot's visual stance:
- Positioning & Margins: Align your mockup card horizontally and vertically to the absolute center, or offset its position to the left/right to reserve layout room for annotating texts.
- Stepless Rounded Corners (Border Radius): Smoothly adjust card roundness from 0px (sharp square) to 100px (sleek round corners) to match modern OS designs.
- 3D Soft Shadowing: Fine-tune shadow offset, blur radius, and opacity. Adding soft diffuse drop shadows raises your mockup cards off the canvas, producing a premium 3D floating effect.
- Custom Outer Borders: Draw slim border lines around your screenshot card, choosing custom colors and stroke weights (like a 1px soft grey border) to isolate card boundaries clearly against bright backdrops.
5. Copyright Watermarks: Prevent Unauthorized Sharing
To protect tutorial guides and graphics from unauthorized distributions, the built-in watermark engine covers:
- Text & Logo Watermarks: Add custom credentials (website URL, handle) or drop your brand logo into the canvas.
- Fine-Tuned Attributes: Control opacity, scale, and tilt angle so the watermark protects your image without blocking core tutorial steps.
- Grid Patterns: Choose classic corner placements via 9-grid controls or enable full-screen grid tiling to stamp down copyright notices.
6. High-Performance Vector Annotations
Drawing clear pointers is key to any tutorial. The beautifier includes a vector toolkit:
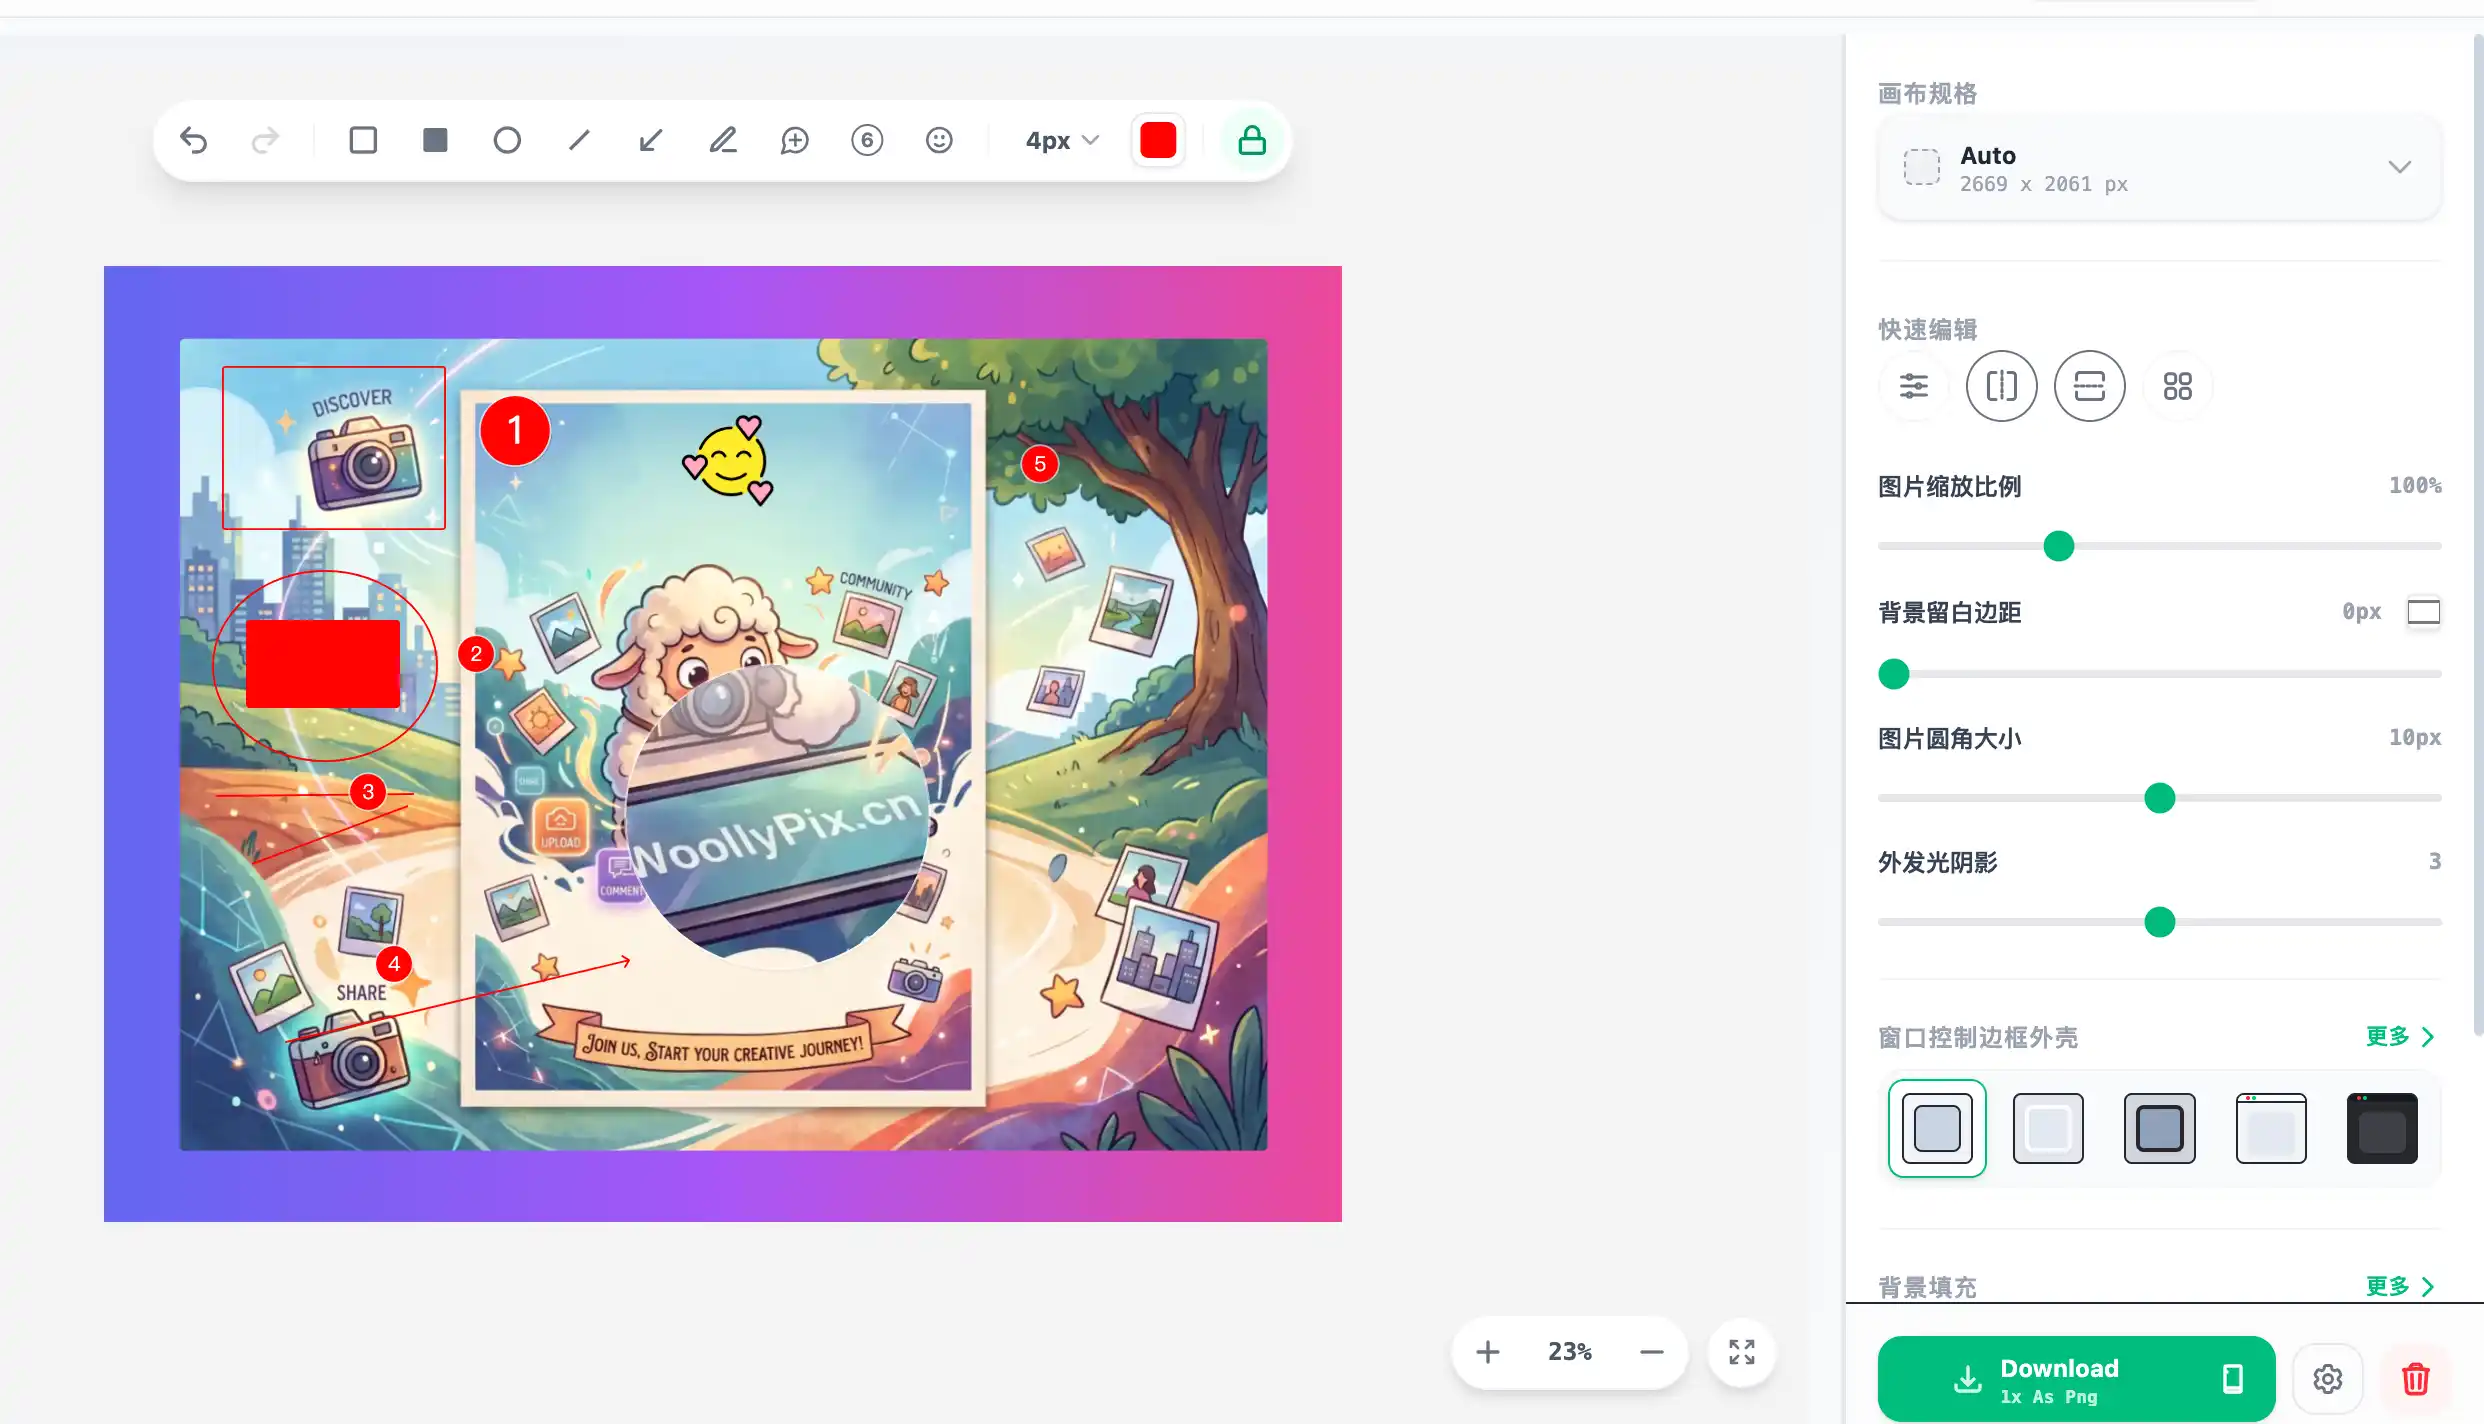
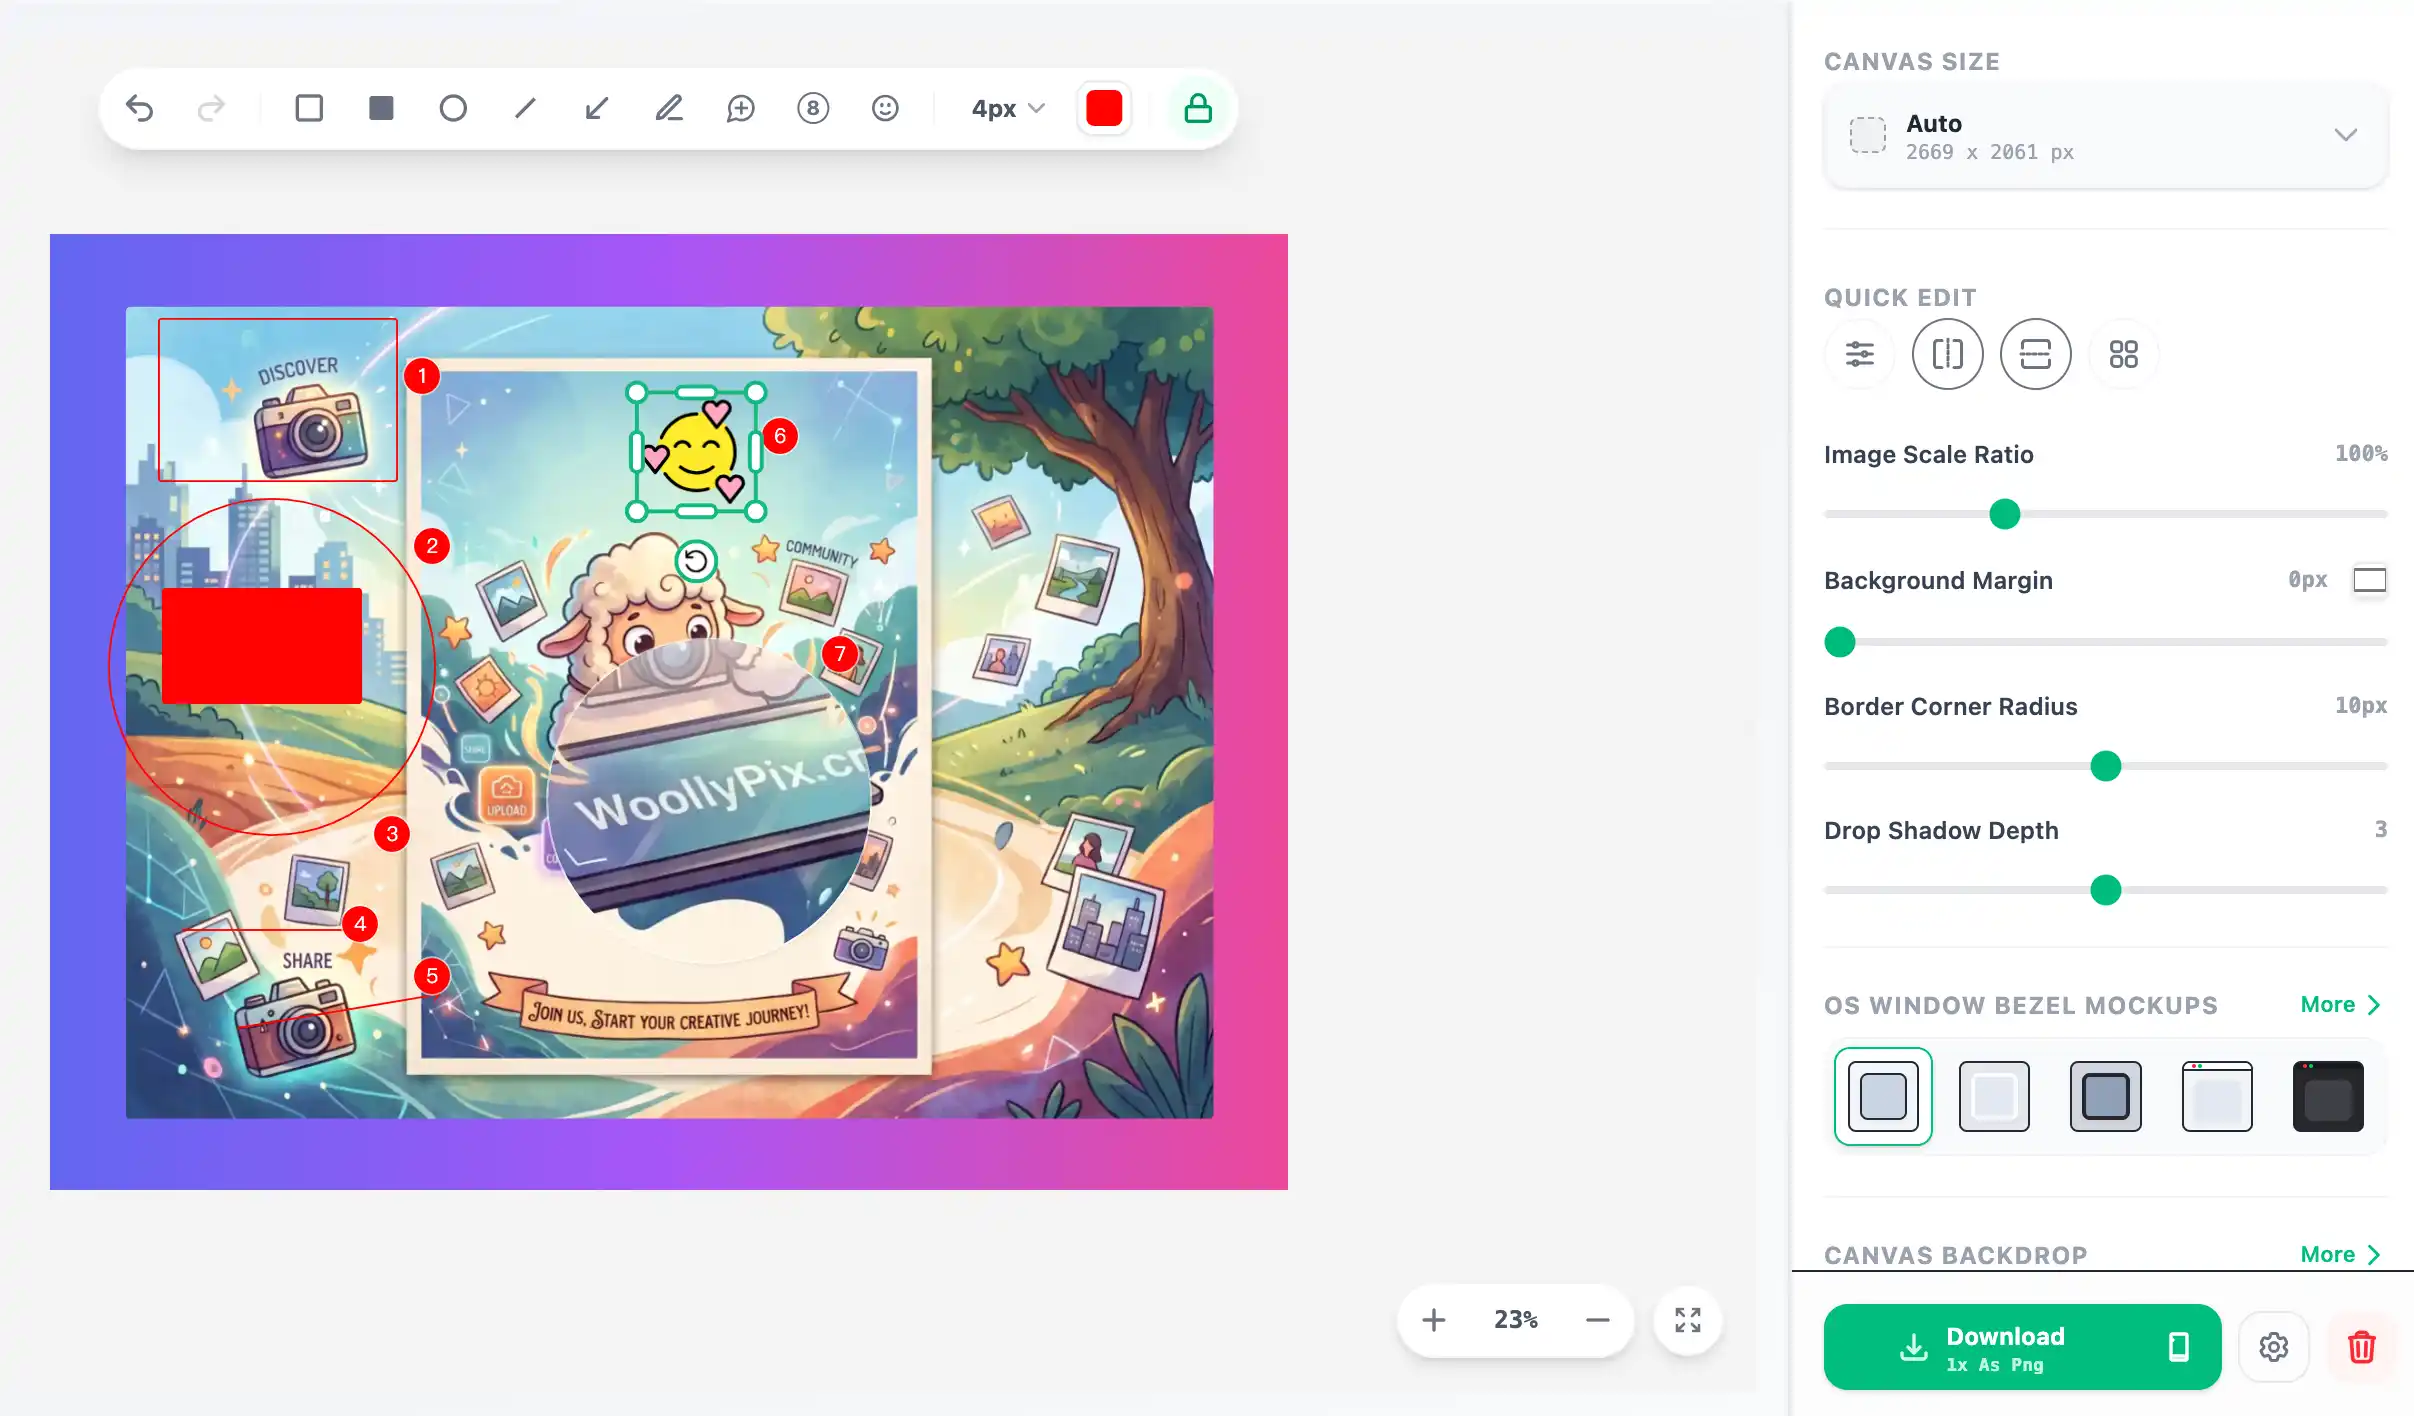
- Shape Outlines (Square / Circle): Solid or hollow outline options. The hollow shapes feature optimized hit-detection (
hitFill: 'all'), enabling you to grab and drag hollow sections without pixel-hunting thin borders. - Flow Pointers (Arrow / Slash): Draw vector arrows to direct user clicks.
- Free Pencil: Write handwriting signatures or draw custom loops.
- Step Stamps: Circular numbered badges. Clicking on the screen places step stamps sequentially (①, ②, ③...) to represent workflow instructions.
7. Detail Magnifiers: The Guide Writer's Best Friend
When a screenshot is massive, and you need to highlight small text, a tiny icon, or a code block, cropping the image loses general context.
- The Solution: The Magnifier tool. It generates a zoomed window that you can drag and resize. Adjust the scale (from 1.5x to 3.0x) to highlight fine details clearly without losing background context.
8. Privacy Coverups & Custom Stickers
Sharing backend panels or configs introduces data security risks.
- Privacy Masking: Blur brushes and opaque block layers help you cover emails, API keys, and private logs easily.
- Stickers Library: Place SVG icons (warnings, checks, tips, thumbs-up) to highlight crucial notes.
9. Multi-Format & Multi-Scale Exports: From Screen to High-DPI Print
Depending on your production requirements, export the results with precision:
- Lossless PNG: Best for screenshots featuring code snippets, tables, vectors, and stickers, maintaining razor-sharp edges.
- High-Compression JPEG: Ideal for loading speed optimizations. Tune the quality slider (70% to 100%) to compress the output for web posts.
- Multi-Scale Renderings (1x, 2x, 3x): Export at 1x, 2x, or 3x densities. The 2x and 3x settings draw hyper-detailed layouts that stay crisp on high-DPI Retina displays or when printed.
10. Why WoollyPix?
1. 100% Client-Side Calculations (No Server Uploads):
Renderings and exports execute entirely in local browser Canvas memory, protecting your credentials offline.
2. Fluid Canvas on LeaferJS:
Built on modern vector graphics, supporting smooth wheel zooms and panning (Spacebar shortcut) for 60 FPS viewport control.
Conclusion
Polished graphics build user trust. The Screenshot Beautifier packages device wrapping and vector annotations into an easy web canvas, keeping your data secure. Upload your screenshot today and create beautiful tutorial graphics instantly!
This article was authored and verified by the WoollyPix Graphics & Frontend Engineering Team based on modern Web APIs and industry standards. All WoollyPix tools run 100% client-side with zero server storage.