
The Ultimate Guide to Screenshot Mockups: Elevate Your Screenshots with Device Frames and Browser Wrappers
Why Do Flat, Raw Screenshots Look Unprofessional?
In our daily work, technical writing, or product presentations, we frequently share screenshots of software interfaces or web pages. Most people simply take a quick snapshot using native hotkeys (like Cmd + Shift + 4 on Mac or Win + Shift + S on Windows) and paste it directly.
However, these raw screenshots often come with visual drawbacks:
- Sharp, Blunt Edges: Raw screenshots have zero edge transitions, making them stand out awkwardly and feel disconnected from the background text.
- Messy Background Clutter: Capturing desktop icons, other window tabs, or menus shifts the reader's focus away from what's important.
- Lack of Depth: Flat images lack a visual hierarchy, making it hard to identify where the app window actually begins and ends.
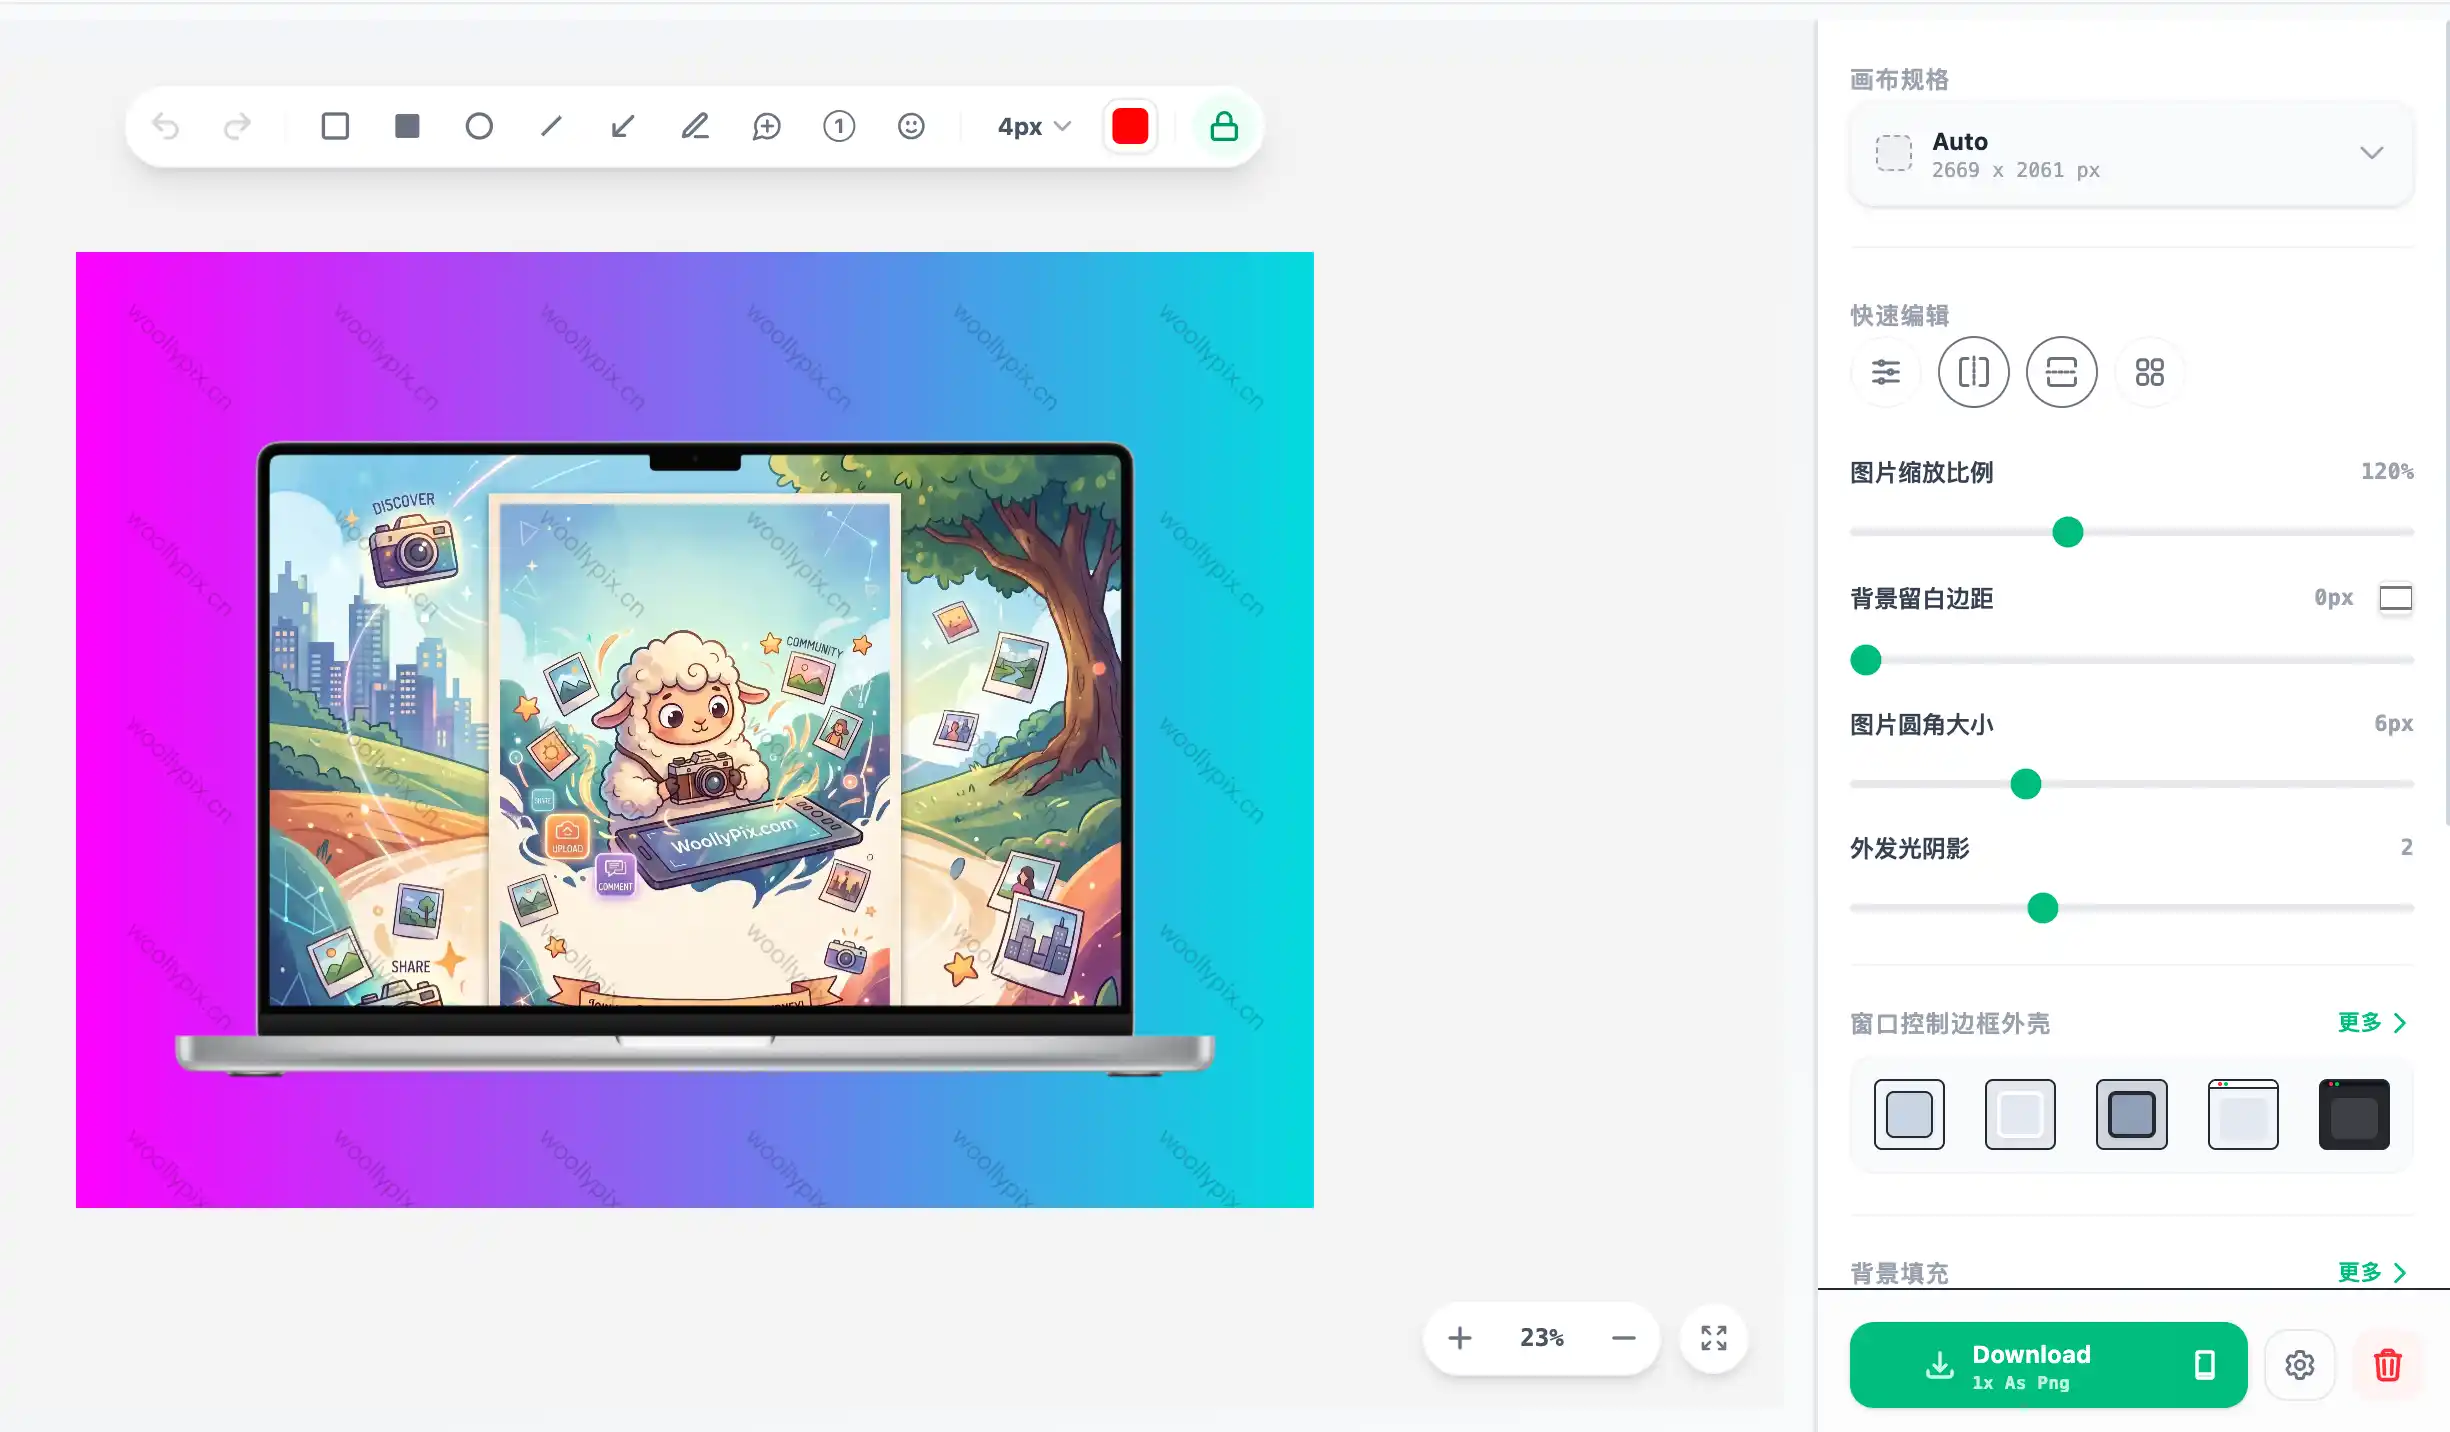
Wrapping screenshots in Device Mockups or Window Frames (Browser headers) is a proven method used by top designers and technical writers to elevate graphic aesthetics.
The Magic of Screenshot Wrappers and Device Frames
By enclosing your raw screenshot in a mockup container, you add instant professional value:
1. Hardware Mockups:
Placing your screenshot inside a MacBook Pro, iPhone Pro, or iPad Pro hardware frame suggests a realistic "app running on hardware" scenario. It is ideal for app store store listings, landing pages, and keynotes.
2. Software Window Mockups:
Adding a classic macOS or Windows title bar (with red/yellow/green control buttons or window controls) wraps web pages beautifully. This style fits technical blogs and tutorials, offering a clean, realistic vibe.
3. Drop Shadows & Gradients:
Adding a soft drop shadow beneath the mockup frame against a premium gradient backdrop gives the image a modern 3D depth, helping the screenshot pop out visually.
Step-by-Step Guide: How to Apply Device Mockups in WoollyPix
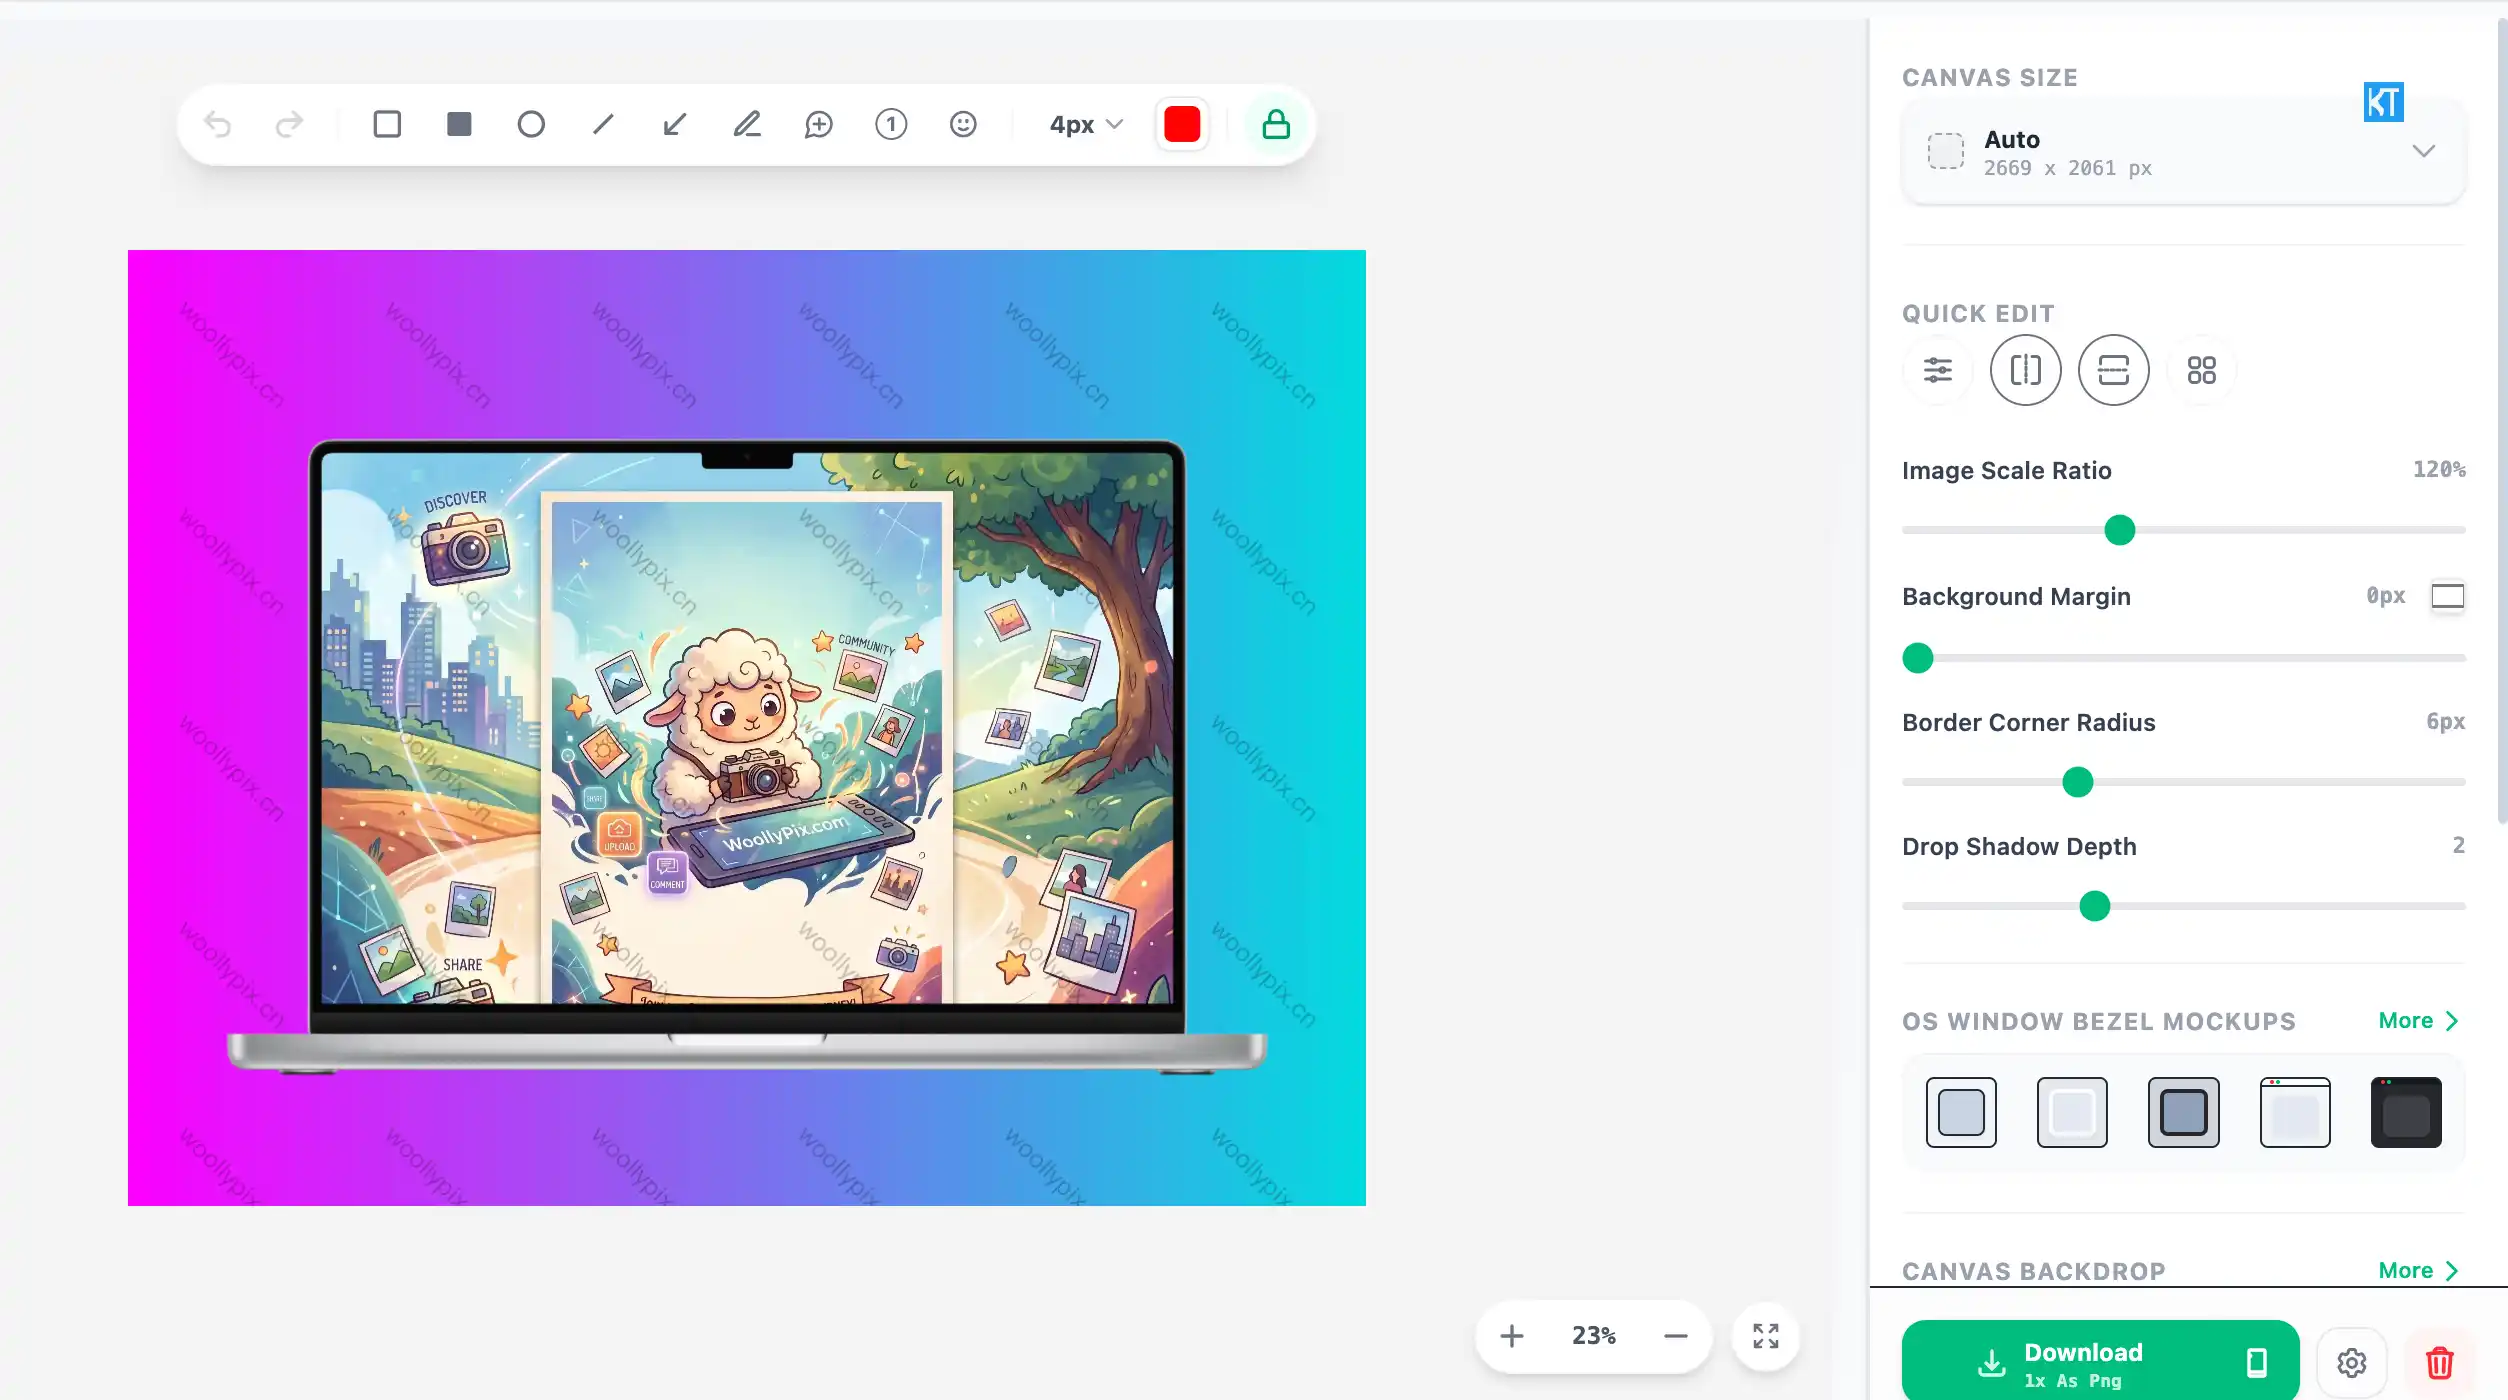
Let's look at how to put a browser screenshot inside a MacBook Pro shell using WoollyPix Screenshot Beautifier:
#### Step 1: Upload Your Image
Go to the Screenshot Beautifier, and drop your raw screenshot into the editor, or click the upload area to select the file.
#### Step 2: Choose a Mockup Template
1. In the left control panel, find the Frame Style option.
2. Select MacBook Pro 16 or a Safari Web Browser window from the list. Driven by the high-performance rendering engine LeaferJS, the editor will automatically adapt to your screenshot's aspect ratio.
3. Adjust the Border Radius and Shadow Offset to refine the edge aesthetics.
#### Step 3: Configure Backdrops & Paddings
1. Under the Background settings, choose a curated radial gradient or plain solid backdrop.
2. Tune the Padding sliders to balance the size ratio. Larger paddings give screenshots room to breathe, while smaller paddings save layout space.
#### Step 4: High-Quality Local Export
When satisfied, click the "Export Image" button. Choose between JPG or PNG formats, and export at 1x, 2x, or 3x scales. The renderer processes the composition entirely in-browser and triggers a direct download.
Offline, Serverless Privacy for Sensitive Data
Many online mockup generators send your files to their backend servers for image processing. If your screenshots contain proprietary code, client databases, or private dashboards, uploading them introduces severe risks.
WoollyPix processes everything 100% Client-Side:
- Zero Uploads: Your assets never leave your device. They stay inside your browser memory, ensuring strict enterprise-level security.
- Uncompromised Quality: Canvas drawings run locally, allowing high-resolution outputs without network compressions or lag.
Conclusion
A polished graphic layout is worth a thousand words. Wrapping raw screenshot snapshots into mockups makes tutorial articles and docs look outstanding. Try the Screenshot Beautifier now and give your screenshots the gorgeous frames they deserve!
This article was authored and verified by the WoollyPix Graphics & Frontend Engineering Team based on modern Web APIs and industry standards. All WoollyPix tools run 100% client-side with zero server storage.