Manga & Long Graphic Slicing: How to Split Asymmetrically with Custom Guides
Why Equal Grids Fail for Vertical Webtoons and Infographics
In the mobile internet era, long infographics and vertical webtoons (条漫) have become dominant formats for visual content. Whether it is comic serialization, e-commerce product pages, tall infographics, or scrolling charts, vertical scrolling offers an immersive reading experience.
However, creators trying to post these long graphics to platforms like Xiaohongshu, WeChat, or Webtoon portals face technical limits:
- Most social networks impose height limits on single files (e.g., cropping images taller than 4000px, compressing them, or throwing upload errors).
- Extremely long single images exceed 20MB, causing slow rendering on mobile networks and increasing bounce rates.
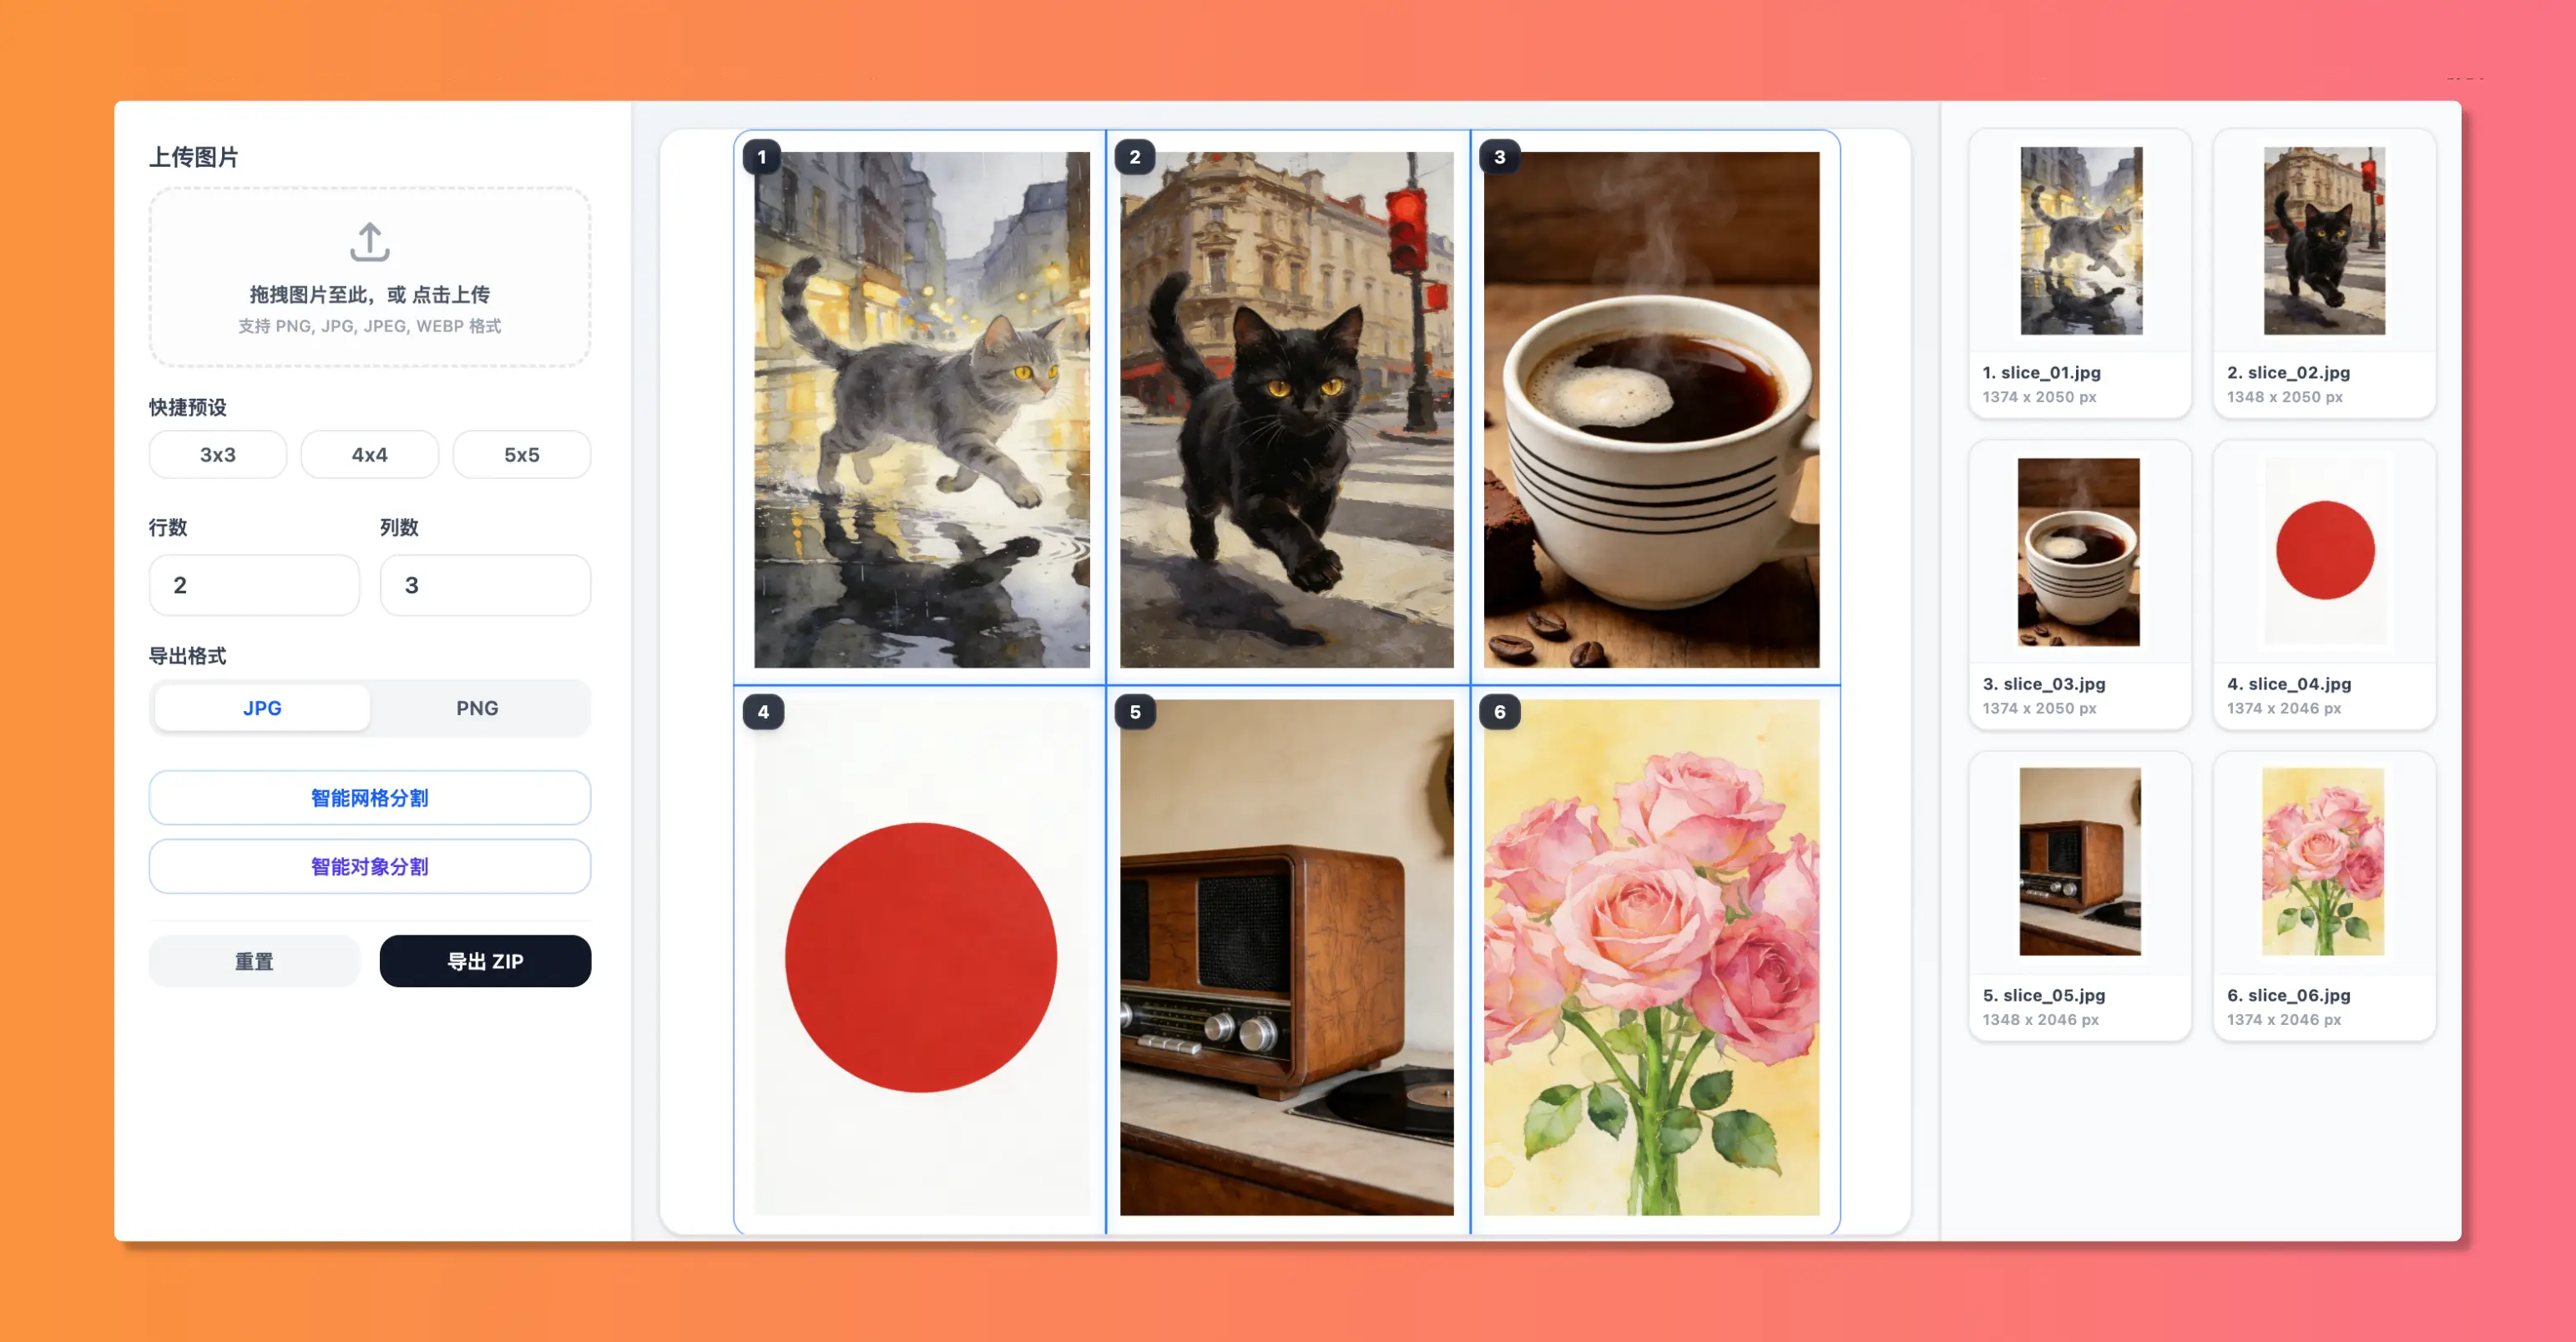
To address this, creators slice vertical graphics into multiple shorter segments. However, using traditional equally-proportional grid slicing creates visual alignment errors:
- Severed Text: Slicing lines cut right through the middle of dialogue text, leaving sentences split in half across two images.
- Warped Portraits: A panel layout line cuts through a character's face, ruining comic flow.
- Fragmented Infographics: Key graphic panels are sliced awkwardly, splitting charts and diagrams.
This is why asymmetric custom guide slicing (不规则自适应切图) is essential for vertical visual designers.
Custom Drag-and-Drop Guidelines: Precise Pixel Alignment
The core of asymmetric slicing is giving the creator complete control over where each horizontal split line is placed. In the WoollyPix Smart Slice program, this is solved with draggable dynamic guidelines.
#### 1. Locating the "Safe Zones" on Your Canvas
Before setting your coordinates, look for areas in your graphic where cuts are safe:
- Blank Gaps: White or black space separating panels in webcomics.
- Paragraph Spacing: Space between text blocks on product lists or charts.
- Minimal Detail Backgrounds: Areas without gradients or critical graphics.
#### 2. Guide-line Interface Setup
1. Import: Drag your long graphic into the canvas workspace.
2. Rows Setup: In the control panel, adjust the number of rows to match your panel groupings.
3. Reposition Lines: Hover over any red guide line. The cursor changes to a drag indicator. Click and slide the guideline to align it.
4. Sub-pixel Precision: Position guidelines in your safe zone gaps. The output will align perfectly when rendered on screen.
5. Manage Splits: Easily add or remove horizontal divisions in the sidebar to match longer layouts.
Balancing Quality & Performance: PNG vs. JPG for Tall Images
When exporting sliced segments, choosing the correct file format dictates both load speed and sharpness:
#### 1. PNG (Lossless) — Best for Webcomics, Typography, and Illustrations
- Mechanism: Uses lossless algorithms, ensuring pixels remain identical to the source.
- Best For: Comic line art, flat icons, screenshots with text, or logo designs.
- Why it matters: PNG avoids the blurry compression noise (Moiré artifacts) around text edges.
#### 2. JPG (Lossy) — Best for E-commerce Photos & Real-World Imagery
- Mechanism: Compresses file size significantly by removing subtle color values.
- Best For: High-res photographs, complex 3D renders, and color gradients.
- Settings: Select JPG format and adjust quality between 90% - 95%. This reduces file size up to 70% with negligible quality loss.
Step-by-Step Tutorial: Slicing a Vertical Comic Sheet
Let's look at how to split a vertical comic strip containing 4 main panels using Smart Slice:
#### Step 1: Load the Graphic
Open the Smart Slice page. Drag your vertical file (e.g. 1200 × 6000px) directly into the browser viewport.
#### Step 2: Set Rows & Drag Guidelines
1. We have 4 panels, so in the settings panel set "Rows" to 4 and keep "Columns" at 1.
2. You will see 3 red guidelines span across the canvas.
3. Drag the guidelines:
- Move the first guideline to the blank gap between panel 1 and panel 2.
- Slide the second guideline to the black gutters separating panel 2 and panel 3.
- Position the third guideline between text blocks, avoiding speech balloons.
#### Step 3: Fast Lossless Export
1. Review the generated thumbnails in the "Slice Preview" sidebar to check that all cuts look clean.
2. Select export format as PNG or JPG, then click "Export ZIP".
3. Slicing completes client-side in milliseconds, downloading the packaged ZIP immediately.
4. Calculations are processed locally inside the browser. Your files remain secure on your machine.
Pro-Tips for Vertical Publishing
- Ensure Seamless Mobile Display: Keep Columns at 1 for vertical strips. This ensures all crops share the exact same width. When uploaded sequentially, smartphones render them as a single seamless scrolling graphic.
- Target Height Sizes: Keep each segment height between 1000px and 1800px. Too short means too many files to upload; too long defeats the speed advantage of segment loading.
- Handling Hard Text Splits: If text lines overlap, edit layout margins in your image editor before importing to create a larger gap for guidelines.
Conclusion
Vertical graphic layout cutting is an essential skill. Generic equal splits are no longer sufficient. The free, client-side, drag-and-drop Smart Slice tool by WoollyPix allows you to split long graphics precisely, without sacrificing quality or privacy. Drag your file in and try it today!